Are you looking to give your car a fresh new look? Painting plastic car parts can be a cost-effective way to achieve a customized appearance. Whether you want to change the color of your car’s bumpers, side mirrors, or interior trim, this guide on how to paint plastic car parts will walk you through the process.
By following these steps, you can achieve professional-looking results that will make your car stand out on the road. And yes, we do provide a link to get the top quality paint at the end of this post!
tl;dr: Steps to Paint Plastic Car Parts
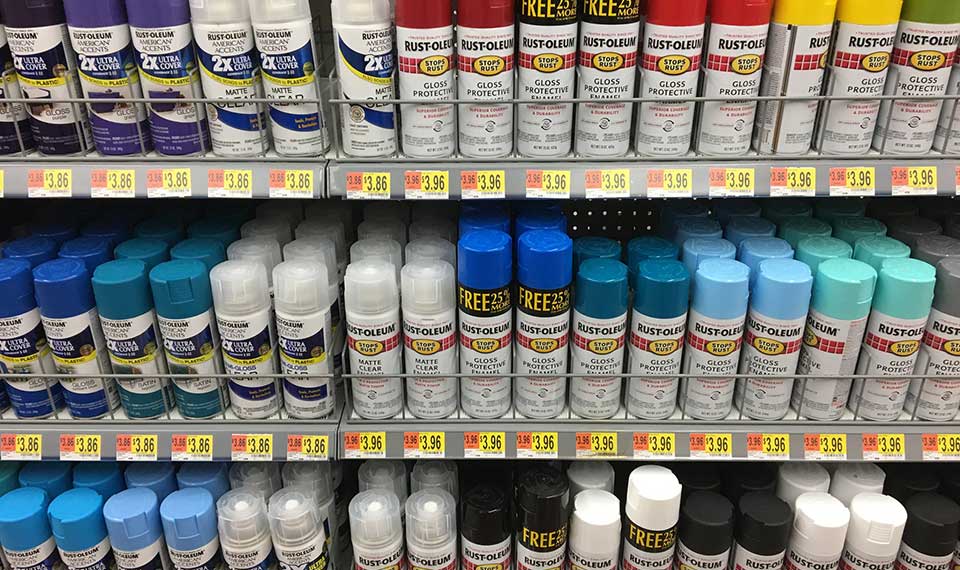
Before diving into the details, here is a quick overview of the steps involved in painting plastic car parts:
Clean the Plastic Car Parts
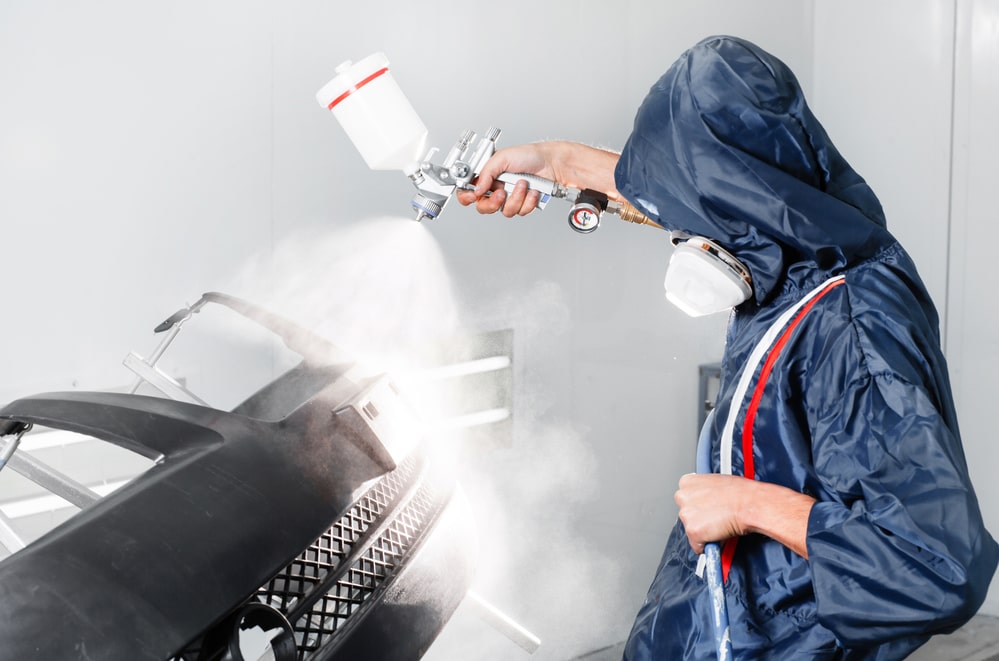
Remove any Dirt or Debris
The first step in painting plastic car parts is to ensure that the surfaces are clean and free from any dirt or debris. Use a soft cloth or sponge to gently wipe away any loose dirt or dust. For stubborn grime, you can use a plastic-safe cleaner or degreaser.
Use a Mild Detergent and Water Solution
Next, prepare a solution of mild detergent and water. Dip a clean cloth or sponge into the solution and gently scrub the plastic surfaces. This will help remove any remaining dirt or grease. Rinse the parts thoroughly with clean water to remove any soap residue.
Rinse Thoroughly and Allow to Dry
After cleaning, rinse the plastic car parts thoroughly with water to ensure all cleaning agents are removed. Allow the parts to air dry completely before proceeding to the next step. This will ensure proper adhesion of the paint.
Sand the Plastic Car Parts
Use Fine-Grit Sandpaper
To create a rough texture on the plastic surfaces, use fine-grit sandpaper. This will help the paint adhere better to the plastic. Gently sand the surfaces in a circular motion, applying light pressure. Be careful not to sand too aggressively, as this can damage the plastic.
Scuff the Surface to Create a Rough Texture
Scuffing the surface with sandpaper will create a rough texture that allows the paint to adhere effectively. This step is crucial for achieving a long-lasting finish. Make sure to scuff all areas that will be painted, including corners and edges.
Remove any Glossy Finish
If the plastic car parts have a glossy finish, it is important to remove it before painting. This can be done by sanding the surfaces until the glossy layer is no longer visible. The goal is to create a matte surface that will promote better paint adhesion.
Apply a Plastic Adhesion Promoter
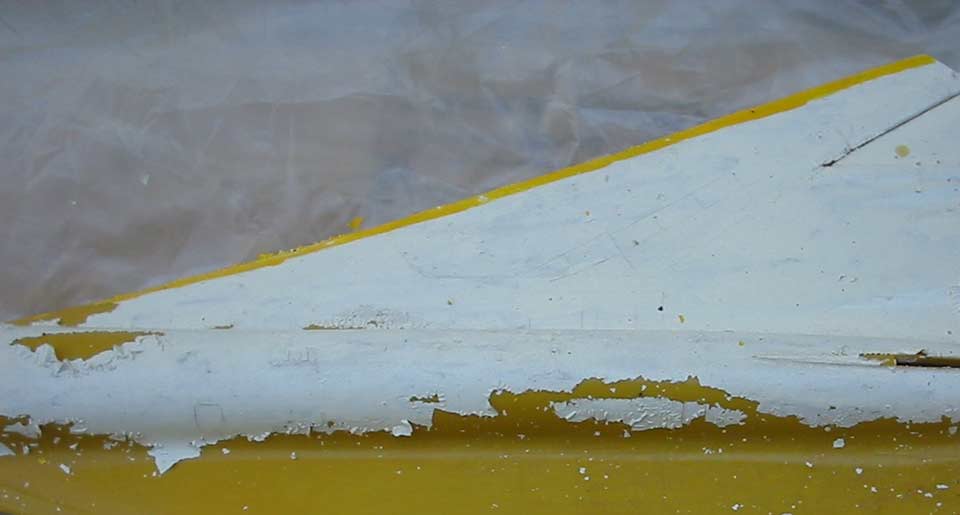
Choose a Suitable Adhesion Promoter
Before applying the paint, it is recommended to use a plastic adhesion promoter. This product helps the paint bond securely to the plastic surface. Choose an adhesion promoter that is specifically designed for use on plastic car parts. Follow the manufacturer’s instructions for the best results.
Apply a Thin, Even Coat
Using a clean cloth or sponge, apply a thin and even coat of the adhesion promoter to the plastic surfaces. Make sure to cover all areas that will be painted. Avoid applying too much product, as this can lead to drips or uneven drying.
Allow to Dry According to Manufacturer’s Instructions
After applying the adhesion promoter, allow it to dry according to the manufacturer’s instructions. This typically takes around 15-30 minutes. It is important to let the adhesion promoter fully dry before proceeding to the next step to ensure proper paint adhesion.
Prime the Plastic Car Parts
Choose a Plastic Primer
Priming the plastic car parts is essential for achieving a smooth and durable paint finish. Select a plastic primer that is compatible with the type of paint you will be using. This will help the paint adhere better and provide a solid base for the color coat.
Apply a Thin, Even Coat
Using a spray can or a paint gun, apply a thin and even coat of the plastic primer to the surfaces. Hold the can or gun about 6-8 inches away from the parts and move it in a sweeping motion to ensure even coverage. Avoid applying too much primer, as this can lead to drips or an uneven finish.
Allow to Dry According to Manufacturer’s Instructions
After applying the primer, allow it to dry according to the manufacturer’s instructions. This usually takes around 1-2 hours. It is crucial to let the primer fully dry before proceeding to the next step to ensure a flawless paint job.
Paint the Plastic Car Parts
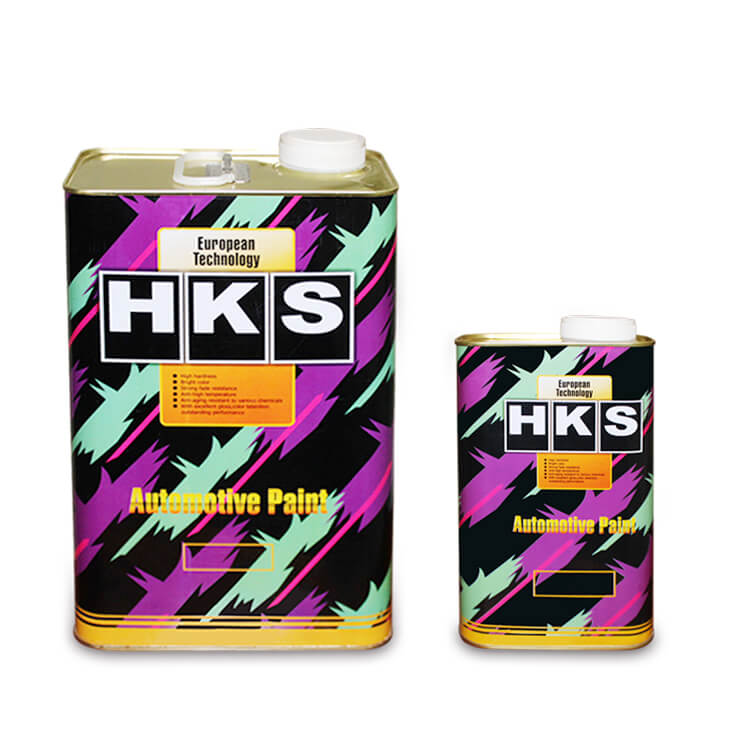
Choose a Suitable Automotive Paint
When it comes to painting plastic car parts, using automotive paint is recommended for its durability and color options. Choose a paint that is specifically formulated for use on plastic surfaces. Consider the color you desire and select a high-quality automotive paint that matches your preferences.
Apply Multiple Thin Coats
For a professional-looking finish, it is best to apply multiple thin coats of paint rather than one thick coat. This allows for better control and reduces the risk of drips or uneven drying. Apply the paint in smooth, even strokes, overlapping each pass slightly for consistent coverage.
Allow Each Coat to Dry Before Applying the Next
After applying each coat of paint, allow it to dry completely before applying the next coat. This will prevent the paint from smudging or running. Follow the manufacturer’s instructions for the recommended drying time between coats.
Apply a Clear Coat
Choose a Clear Coat Specifically Designed for Plastic
To protect the paint and enhance its longevity, applying a clear coat is essential. Choose a clear coat that is specifically designed for use on plastic surfaces. This will provide an extra layer of protection against UV rays, scratches, and fading.
Apply Multiple Thin Coats
Similar to the paint application, it is recommended to apply multiple thin coats of clear coat for optimal results. This will ensure an even and glossy finish. Apply the clear coat in smooth, overlapping strokes, allowing each coat to dry before applying the next.
Allow Each Coat to Dry Before Applying the Next
After applying each coat of clear coat, allow it to dry completely before applying the next coat. This will help achieve a smooth and flawless finish. Follow the manufacturer’s instructions for the recommended drying time between coats.
Allow the Paint to Cure
Follow the Manufacturer’s Instructions for Curing Time
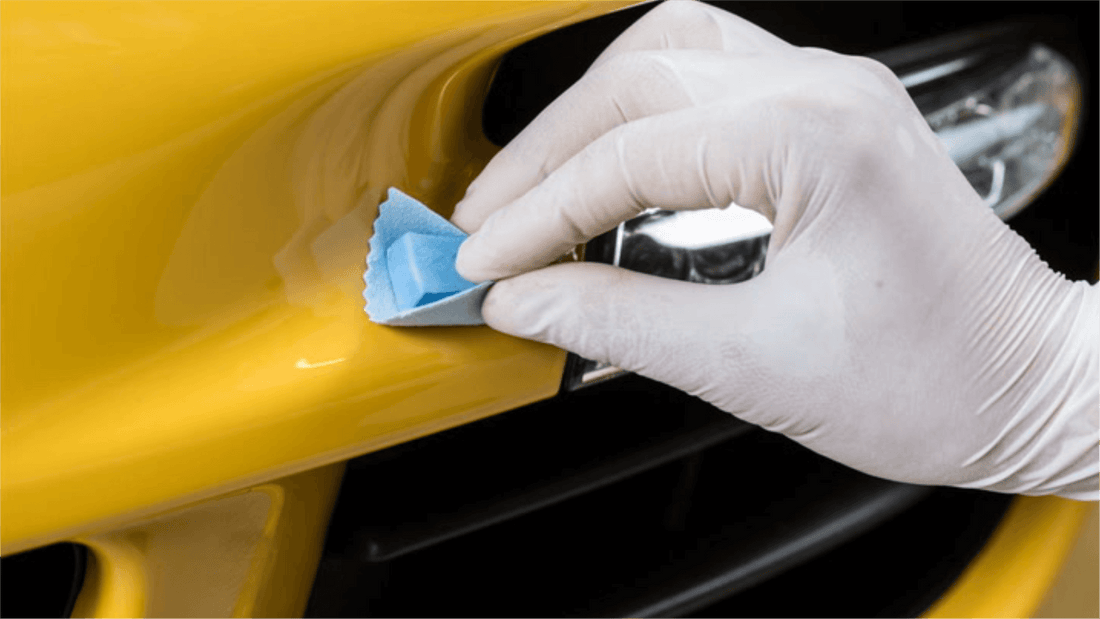
After applying the clear coat, it is important to allow the paint to cure fully. Curing time can vary depending on the type of paint and clear coat used. Follow the manufacturer’s instructions for the recommended curing time. Avoid touching or reinstalling the parts until the paint is fully cured.
Reinstall the Plastic Car Parts
Once the paint has fully cured, you can reinstall the plastic car parts back onto your vehicle. Take care when handling the painted surfaces to avoid scratching or damaging the fresh paint. Follow the appropriate installation instructions for each part to ensure a secure fit.

Discover the premium line of automotive paint products designed to enhance and protect your car.
Conclusion
Painting plastic car parts can be a rewarding DIY project that allows you to personalize your vehicle. By following the step-by-step guide outlined above, you can achieve professional-looking results. Remember to clean and sand the surfaces, apply a plastic adhesion promoter and primer, paint with multiple thin coats, and finish with a clear coat.
Allow the paint to cure fully before reinstalling the parts. With patience and attention to detail, you can transform the appearance of your car and make it truly unique.
Originally posted 2023-04-22 09:23:08.

